

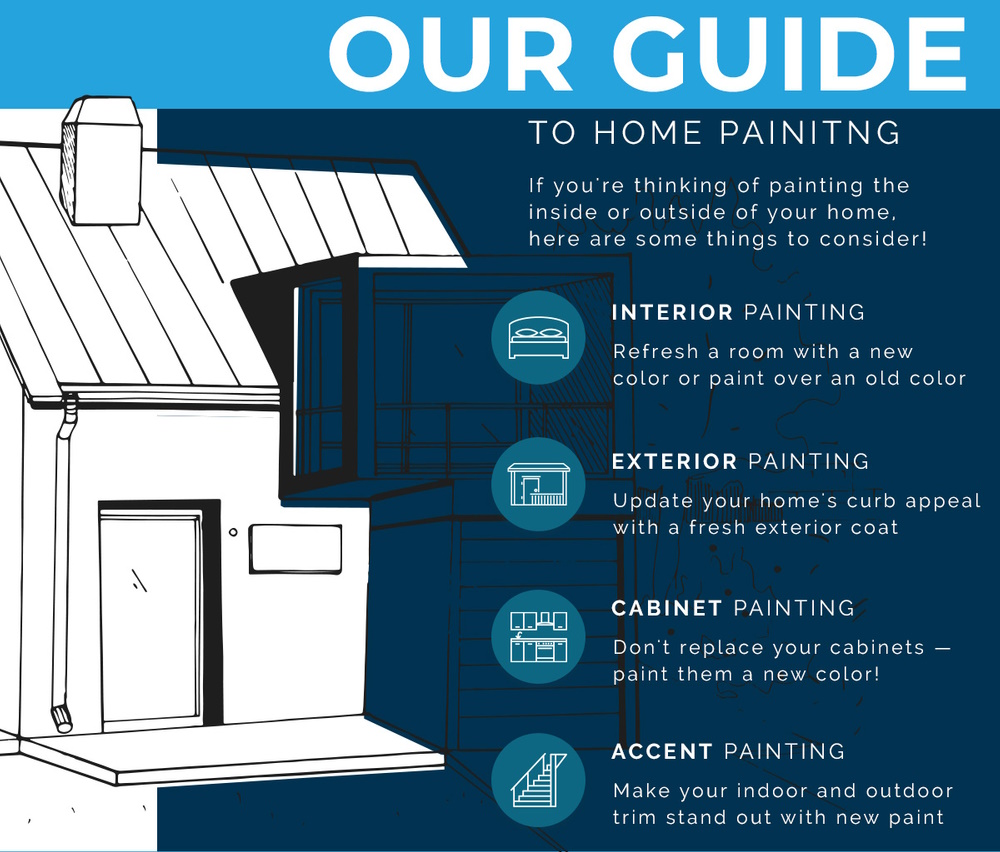
A comprehensive guide to home painting tips
Transforming your home with a fresh coat of paint is one of the most impactful and affordable renovations you can undertake. However, achieving a professional-looking finish requires more than just a brush and a can of paint. Proper preparation and the right techniques are crucial for a durable and beautiful result.
Here is a step-by-step guide on how to approach your next home painting project like a pro.

1. The golden rule: Don’t skip preparation
Many DIY painters are eager to start, but experts agree that the quality of your finish is 90% preparation.
- Protect the room. Move all furniture to the center of the room and cover everything, including floors, with drop cloths. Canvas drop cloths are preferable to plastic, as they are less slippery and can absorb paint drips.
- Remove fixtures. Carefully remove light switch and outlet covers. Consider placing the screws in a small, labeled plastic bag to avoid losing them.
- Clean the walls. Clean dirty surfaces thoroughly to ensure proper paint adhesion. For grimy areas, especially in kitchens and bathrooms, use a degreaser cleaner like trisodium phosphate (TSP). For general cleaning, a wipe-down with a damp cloth is sufficient.
- Repair imperfections. Fill any nail holes, cracks, or dents with spackle or drywall compound. Sand the patched areas smooth once they are dry.
- Apply painter’s tape. Use high-quality painter’s tape to protect trim, baseboards, and window frames. Run a putty knife along the tape’s edge to seal it completely and prevent paint from bleeding underneath.
2. Choose the right paint and tools
Selecting the right materials will make your job easier and improve the final outcome.
- Quality paint is key. High-quality paint provides better coverage and durability, often requiring fewer coats. For the safest and most pleasant indoor experience, look for low or zero volatile organic compound (VOC) paints.
- Select the right sheen. The finish you choose impacts both the look and function of a room.
- Flat/Matte: Hides imperfections well and is ideal for low-traffic areas like ceilings and bedrooms.
- Eggshell: A popular, low-sheen option that is more durable and washable than matte, making it suitable for living areas.
- Satin: Provides a pearl-like sheen and stands up well to cleaning, perfect for moderate-to-high traffic areas like kitchens, bathrooms, and kids’ rooms.
- Semi-Gloss: Offers a radiant shine and is exceptionally durable and moisture-resistant, making it a great choice for trim, cabinets, and doors.
- Invest in good tools. High-quality brushes with dense bristles hold more paint and apply it more evenly. For rolling, choose a high-grade cover with the correct nap size for your wall’s texture. A paint pole extension is also a lifesaver for your back.
3. Learn professional painting techniques
Once your space is prepared and you have your materials, it’s time to start painting.
- Start with the ceiling, then trim, then walls. This order ensures you can be messy with your initial coats without worrying about drips. Any spatters on the walls can be painted over later.
- Box your paint. If you are using more than one can of paint, mix them together in a 5-gallon bucket. This ensures a consistent color across all surfaces.
- Cut in first. Use an angled brush to paint a strip along the edges of the ceiling, trim, and corners before using the roller. For the best blend, “cut in” and roll in sections, keeping a “wet edge” to avoid lap marks.
- Use the “W” technique. When rolling, apply the paint in a large “W” or “M” pattern, then fill in the empty spaces. This distributes paint evenly and prevents streaks.
- Work from top to bottom. Paint from the top of the wall downwards. This way, you can easily paint over any drips that might occur.
- Apply two coats. While tempting to do just one, two thin coats of paint will always provide a richer, more even finish with better durability than a single thick coat.
- Allow proper drying time. Follow the manufacturer’s recommendations for drying times between coats. Rushing this step can lead to peeling or uneven texture.
4. Finishing touches and cleanup
The last steps are key to that polished, “just finished” look.
- Remove tape while paint is tacky. As soon as the paint is dry to the touch, but not fully cured, carefully remove the painter’s tape at a 45-degree angle. This prevents the paint from peeling along with the tape.
- Clean up any drips immediately. Keep a damp cloth handy while you work to wipe up any spills before they can dry.
- Properly store leftover paint. To preserve paint for future touch-ups, seal the can tightly. You can place a layer of plastic wrap over the opening before hammering the lid on to create an extra-tight seal.
- Clean your tools. Wash your brushes and rollers thoroughly with warm, soapy water for latex paint. Properly cleaned tools will last for many projects to come.


Leave A Comment